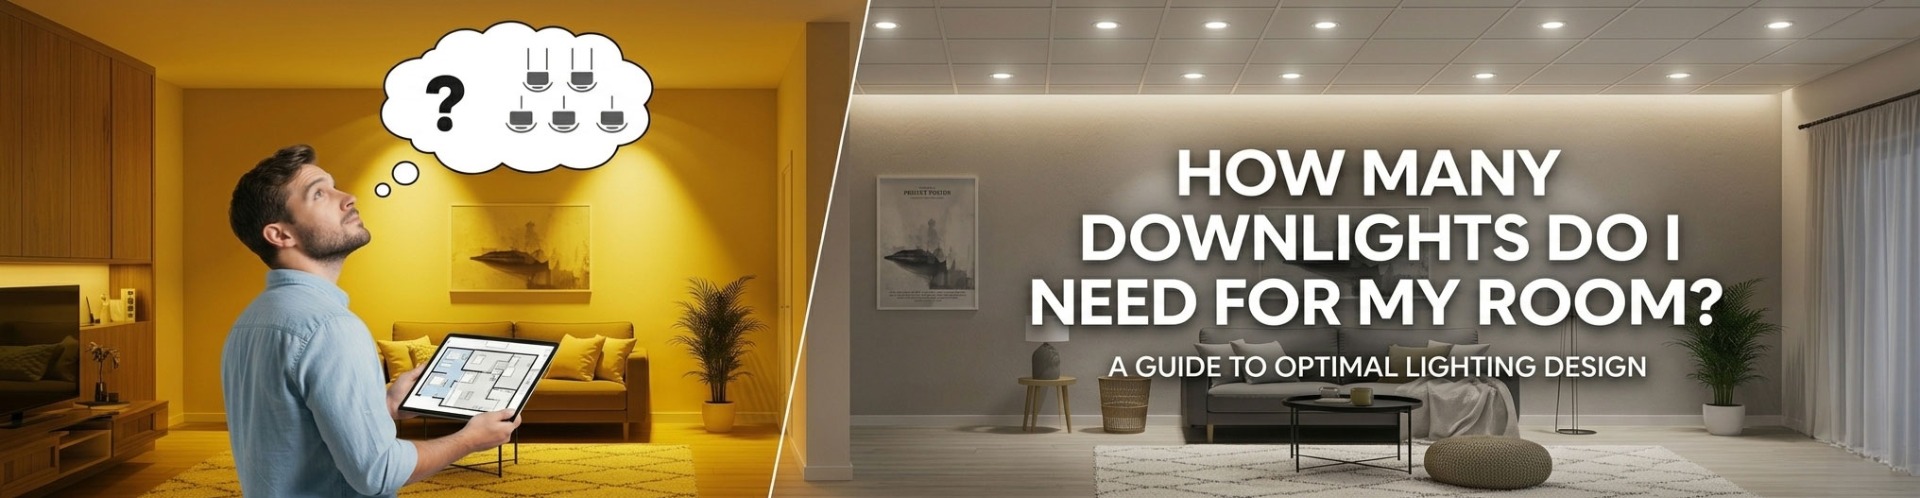
Figuring out exactly how many downlights to install can feel a bit daunting when you're planning a kitchen refresh, bedroom makeover, or whole-house renovation. Get it right and your room feels bright, evenly lit and welcoming. Get it wrong and you end up with dark corners, harsh shadows or an overly bright "clinical" effect.
The good news? With a few simple measurements and guidelines, most homeowners can arrive at a solid number. Here's a practical, step-by-step approach that works for typical UK homes (standard ceiling heights around 2.4–2.7 metres).
Step 1: Understand the Lighting Needs of Different Rooms
Not every room needs the same brightness. Lighting experts talk about lux (lumens per square metre) as the measure of light intensity on a surface. Here's what feels comfortable in common home spaces:
Living room / lounge — 100–300 lux (cosy ambient light; brighter for reading corners)
Bedroom — 100–200 lux (relaxing; softer overall, with task lights for dressing tables)
Kitchen — 300–500 lux general, up to 500–700 lux on worktops (task-focused for food prep)
Bathroom — 200–300 lux general, 400–500 lux around mirrors (clear but not glaring)
Hallway / dining room — 150–200 lux (welcoming without overwhelming)
These are guidelines—personal taste matters. If you love bright spaces, aim higher; for moodier vibes, go lower and layer with lamps.
Step 2: Measure Your Room and Choose Your Downlights
Start with the basics:
Measure the floor area in square metres (length × width).
Note your ceiling height (most UK homes are 2.4–2.7m; higher ceilings need more light or closer spacing to avoid dim edges).
Next, check the lumen output of the downlights you're considering. A typical modern LED downlight puts out 400–800 lumens each. For reliable, high-quality options with excellent efficiency and long life, many electricians turn to trusted brands like Collingwood—their H2 series models often deliver 450–850 lumens depending on the variant, with great even spread.
Step 3: Use Simple Rules for Spacing and Quantity
Two quick methods give you a reliable starting point:
Method A: The Spacing Rule (for even coverage without dark spots)
A common UK installer guideline is to space downlights roughly half the ceiling height apart (or up to 1.5× height for softer looks), and keep them at least 0.5–1 metre from walls.
Ceiling 2.4m high → space 1.2m apart, 0.6–1m from walls.
Ceiling 2.7m high → space 1.35m apart, 0.7–1m from walls.
Rough count: Divide your room length and width by the spacing distance, then round up. Example: A 4m × 5m room (ceiling 2.4m) might fit 4–6 downlights in a grid (e.g., 2 rows of 3), spaced 1.2–1.5m apart.
Method B: The Lumen / Lux Calculation (for brightness accuracy)
This is more precise if you want to hit a target lux level.
Decide your target lux (e.g., 200 lux for a living room).
Multiply room area by target lux → total lumens needed. Example: 20 m² living room at 200 lux = 4,000 total lumens required.
Divide by lumens per downlight → number of downlights needed. Example: Using 600-lumen downlights → 4,000 ÷ 600 ≈ 7 lights (round up for even spread).
Adjust for real-world factors: Add 10–20% extra if ceilings are high/dark walls absorb light, or if you want brighter task areas.
Extra Tips for Getting Downlighting Right
Test layouts: Use painter's tape on the ceiling to mock up positions before cutting holes.
Layer your lighting: Downlights provide base (ambient) light—add wall lights, pendants, or floor lamps for warmth and flexibility.
Choose quality: Cheaper downlights can flicker, overheat, or lose brightness fast. Brands like Collingwood offer fire-rated, insulation-coverable models with consistent output and long warranties—worth considering for peace of mind in a renovation.
With these steps, you'll avoid common pitfalls like under- or over-lighting. Measure twice, plan your grid and you'll end up with a room that feels just right.
Ready to get started? Explore downlights and find the perfect fit for your space.